
Holiday Cards – Shimmer and Shine

By Cards

Hi all,

I’m back with more cards for Holiday Style. Here are my versions of shinny, shimmery, and glittery cards! Enjoy!

Gold embossed and wood veneer.

RedPlaidCard1

12×12 glittery cardstock with an illustrated tag

RedGreenStriped

Die-cuts, sequins and faux gold foiling (on bottom of letters).

MerryJoy1MerryJoy2

Hand Cut & Stitched Sketchbook and Journal

By Planner Stationary & Accessories

Hello all,

I’m so excited to share a fun project I created the other day! I have always been drawn to fun prints and textures when it comes to stationary and notebooks. I try to keep things lively and colorful to brighten up my desk or work space. So the other day as I was looking at some sketch paper and chipboard I had purchased over a year ago, I decided I’d make my very own sketchbook/journal to help organize my thoughts when it comes to cardmaking and project designs.

The covers are 7 gypsies Nouveau book covers. The interior papers are creme cardstock from 7 gypsies as well. I trimmed down the cardstocks to match the book (approximately 7″ x 5.5″).

loveyounotebook1

The bookcovers were covered with atg and then wrapped with papers from the Echo Park 12×12 Simple Life collection.

loveyounotebook2

I did the same on thing to the back.  Then, I hand-punched holes throughout each page so that I could loop through some gold thread.

loveyounotebook3

I absolutely LOVE the way the gold thread shows threw while the book is open.

loveyounotebook4

And here’s the finished beauty resting on top of some of my other notebooks I have on my desk. These notebooks are seriously my all time favorites!

A Variety Pack featuring My Minds Eye Notecards

By Cards

Hi all,

Today, I am excited to share this fun new group of cards I have altered to create what will be my first of several variety packs of cards. These 9 cards will be boxed together with a coordinating envelope and available to you in the very near future. For now, enjoy a close up view of each card. Each card measures 4.25″ x 5.5″

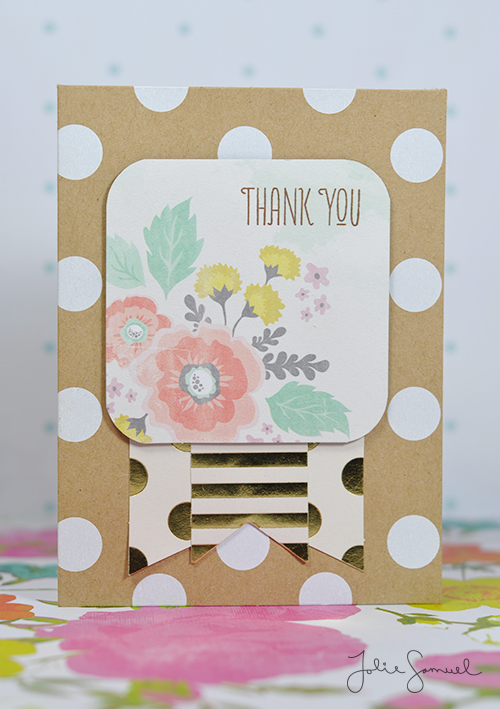
Card 1) Kraft colored with gold embossed embellishments. Thank You sentiment sits slightly above the card base and creates a dimensional look.

KraftWhite-ThankYou

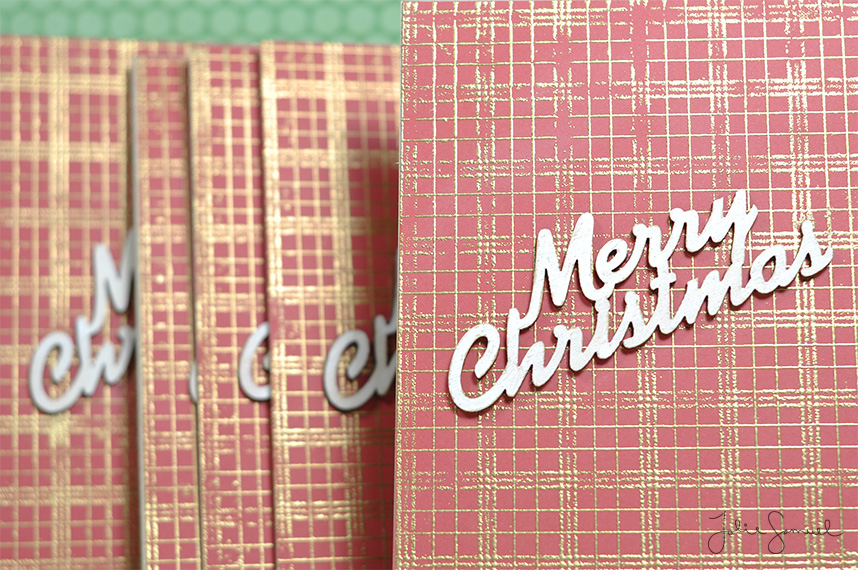
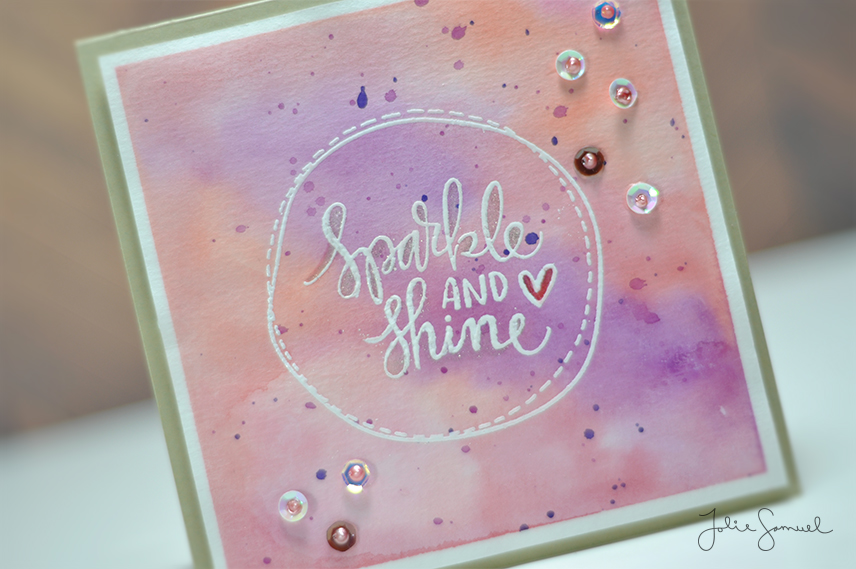
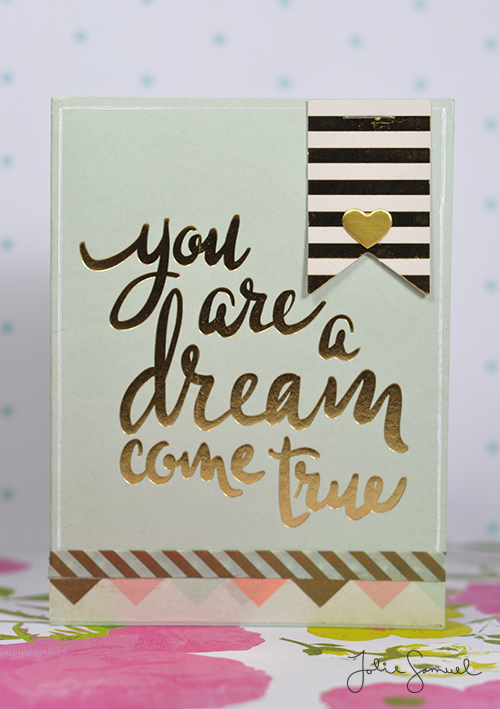
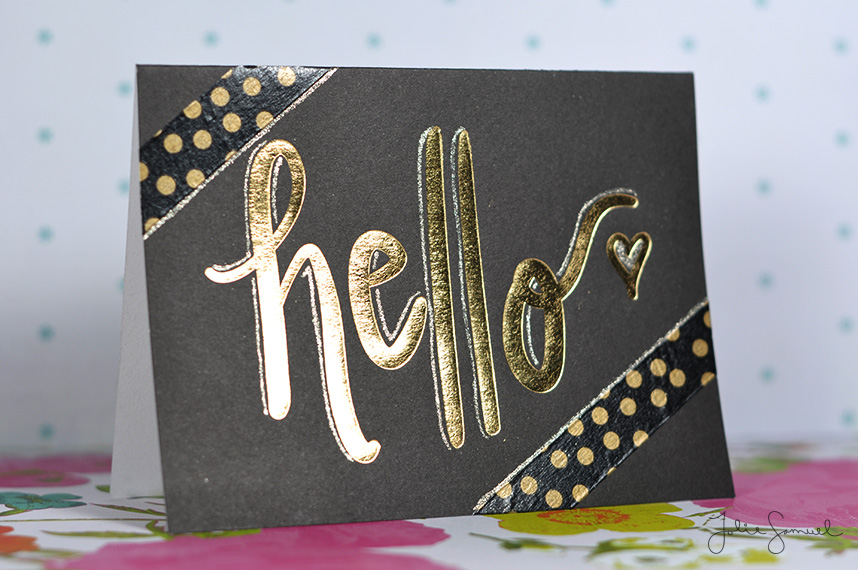
Card 2) Gold Embossed sentiment. This is seriously stunning in person. Sadly, its hard to get a shine or shimmer to show properly in a photo.

BlueGold_Dream

Card 3) Does this card remind you of Kate Spade planners? I know it definitely does for me!

WhiteGold_Hearts

Card 4) Another embossed card. It is beautifully gold embossed with a shimmery shadow along the edge. I tried to capture the shine in this shot!

BlackGold-Hello

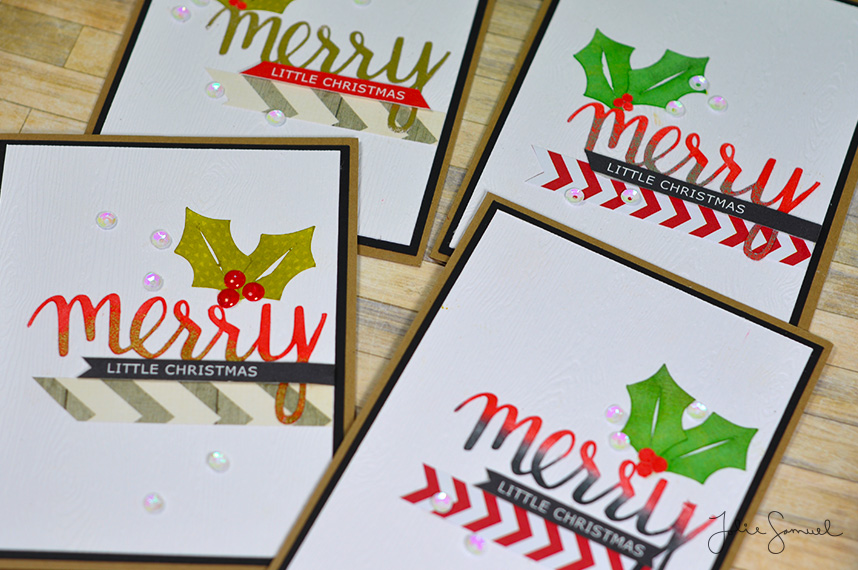
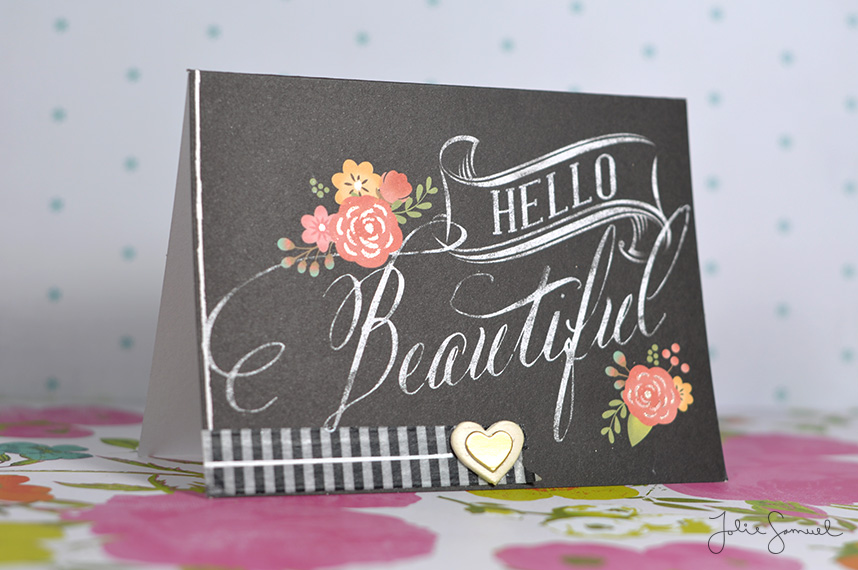
Card 5) A faux chalkboard look at it’s finest. This card is embellished with washi tape as well as wood veneer & chipboard hearts.

BlackWhite--HelloBeautiful-Floral

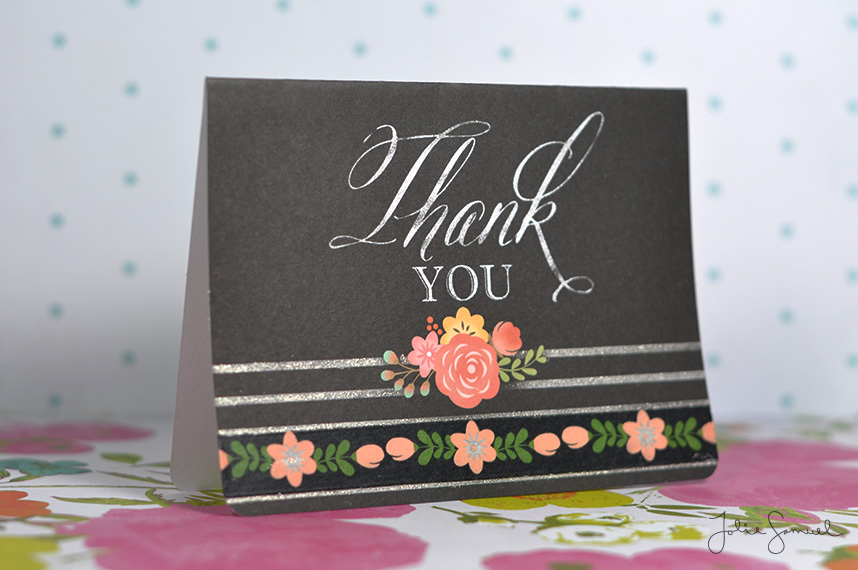
Card 6) Thank You card using a similar blackboard type font and embellished with a silver shimmer pen & floral washi tape.

BlackWhite-ThankYou-Floral

Card 7) This card features an embossed peachy background & uses washi & string. PeachGold-Thankscx

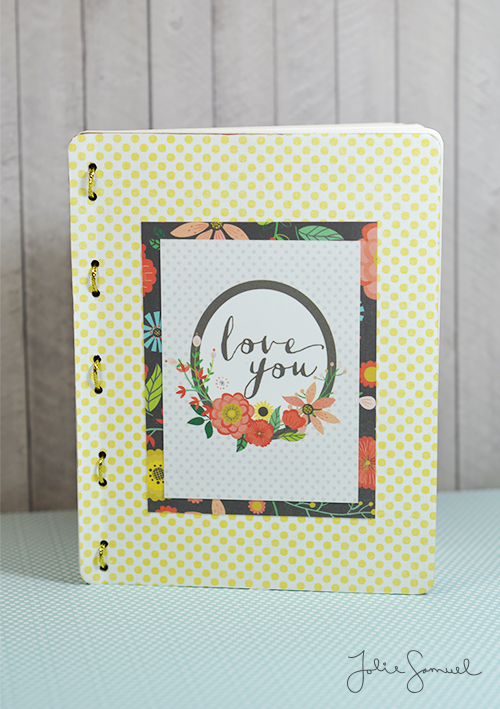
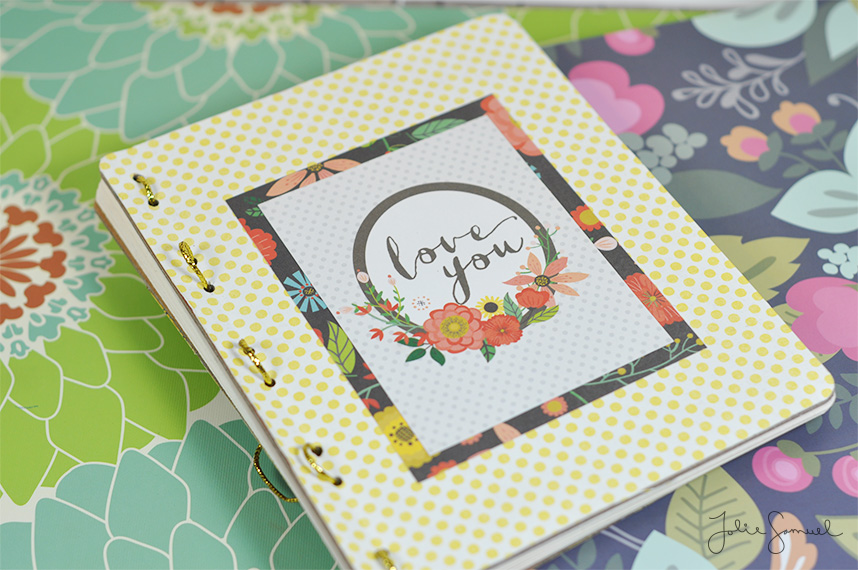
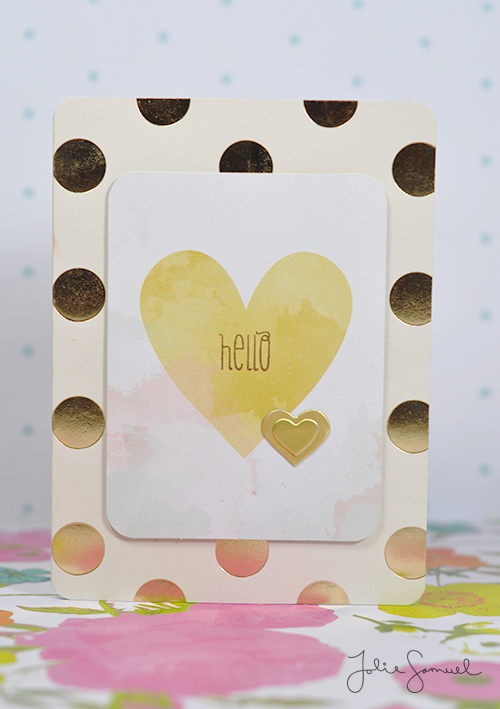
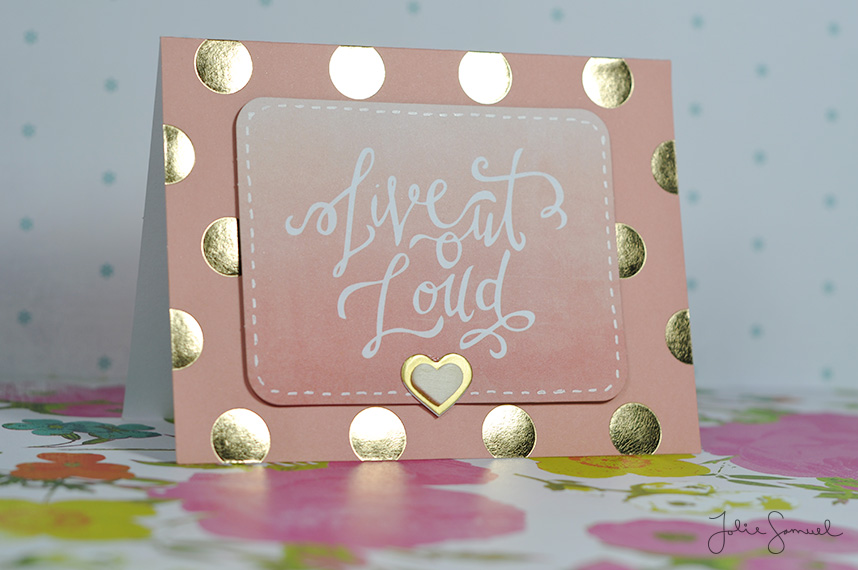
Card 8) Again that Kate Spade type feel with the polka dots and gold. I’m in love with the colors of this card!

Peach-LiveOutLoud

Card 9) Clean & Simple kraft brown card. Love the simplicity behind this.

KraftWhite-You-Rock

Envelopes – All of the cards include a coordinating envelope. Each envelope is lined for extra flare for the receipt. I love that!

Envelopes

Sparkle, Shine and Watercolors

By Cards

Hi All,

Welcome to another day of easy card ideas. For today’s card I wanted to try my hands at watercoloring a background. I’m pretty new to the watercoloring world and recently received the Koi watercolor set as a Christmas gift. I thought it would be the perfect time to break it out and try some of those soft valentine type colors.

To create this card I used some Carson watercolor paper and saturated the entire front with some water. I then grabbed some paint colors and use quite a bit of water to get them activated and moving on the paper. I must admit it wasn’t looking all to great when wet, but as I hit it with my heat gun (to speed up the drying process) I really liked the softness it had.

sparkleandshine_01

Once I finished the background I stamped the circle and sentiment using a Simon Says Stamp set I received in my December kit. Love those kits! Lastly, I added a bit of shimmer using my wink of stella glitter pen & some sequins.

sparkleandshine_02

Hope you enjoyed and stay tuned for a new video post tomorrow featuring this technique and some quick valentine’s day cards ideas.