Category

Cards

Friendship Card with Watercolor Background

By Cards

Hi All,

I’m back with another card featuring a large background stamp. This time I wanted to work with watercolors and draw focus to the smaller elements of the background. The most important element in making a card like this is to use a quality piece of watercolor paper. Since there’s so much water added to the card, you really need a material that will hold up and not break apart.

Here’s a video on how the card was made.

I actually made this card a few times. When using a thick black border around the edges of the element, the card looks more like an actual book. I loved how this design can truly be dressed up or down depending on the occasion.

Friendship-Card-Watercolor-Dots

Supplies:

Cardstock: Bazzil texturized & Neenah Dessert Storm

Inks: Versafine Black

Watercolor: Yasutomo Watercolor Palette

Stamp: Simon Says Stamp – Absolutely Delightful


Thank You Card Featuring Floral Background Stamp

By Cards

Hi All,

Hope you are all having a memorable summer! I feel like it has gone by way too fast & I’m so not looking forward to cooler weather.

To keep things in the spirit of bright and fun, I’d love to share with you my latest project. I wanted to use a large background stamp as my focal point of a card. I have been enjoying the inspiration shared over at Online Card Classes (Stretch Your Stamps 2) and thought I would share my take on featuring a large background stamp. I love the way it turned out and as you can see from the video, but it requires quite a few steps. I don’t think it’s the fastest type of card to make, but it does make quite a statement. The colors are so bold and iridescent no matter where the light hits it!

YT_ThankYou_FloralBackground

Here’s the how-to-video I created. Feel free to subscribe to my YouTube channel as I will now be updating it regularly with new projects & inspiration.

Supplies:

Cardstock: Bazzil textured in Black, Blue & Violet

Embossing: Inkadinkado Black Metallic & Glam Gold

Markers: American Crafts Metallic Markers in Gold, Blue, Violet & Teal

Stamps: Hero Arts – Large Fabric Design, Simon Says Stamp-Life is a journey

Inks: Hero Arts Mid-Tone Shadow Ink – Butter Bar & VersaMark Clear

Tools: EK Success Powder Tool, Tonic Paper Trimmer, Stampin’ Up Precision Scissors, 1/16” Foam Mounting Squares, Heat Gun & Tape Runner Adhesive

A Bridal Meteor Shower! Part 3

By Cards

Hi all,

I’m super excited to share the last and final part of the series with you. This one was totally inspired by a gift I once received from a friend/co-worker when I was a bride-to-be. She gifted me a gorgeous handcrafted box with an enclosed set of monogrammed thank you cards. I definitely had it in mind while I was creating.

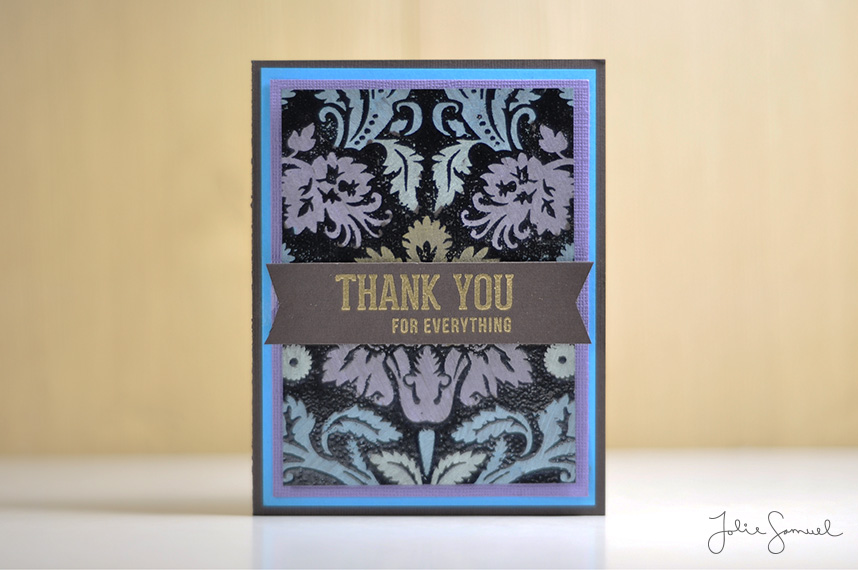
First, I wanted to create a card to the bride that would eventually be signed by the bridal party. I wanted to keep with the theme when writing the sentiment so I used “infinite love”. I got to tell you, I went through A BUNCH of words and eventually started sounding like Buzz Lightyear talking to star command. Thankfully, I kept it simple.

Here’s what the graphic looked like using elements from the original invitation.


Asset_BoxCover_Card1

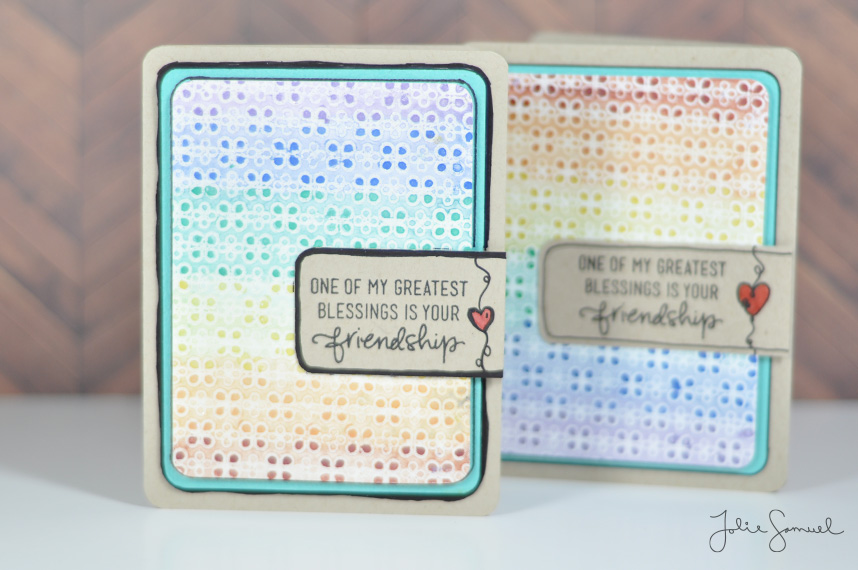
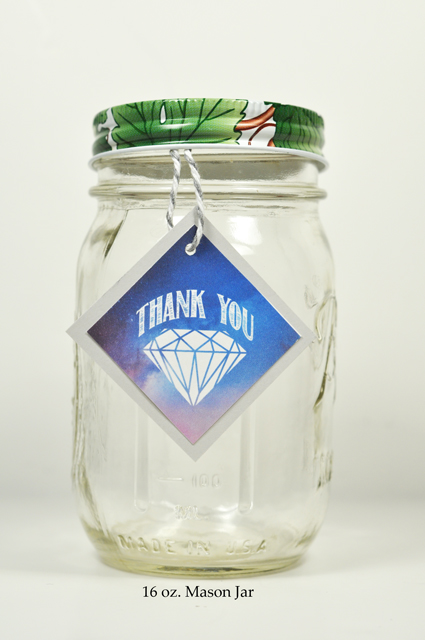
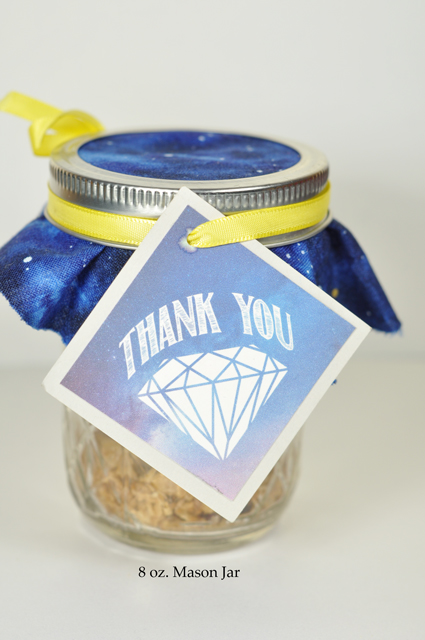
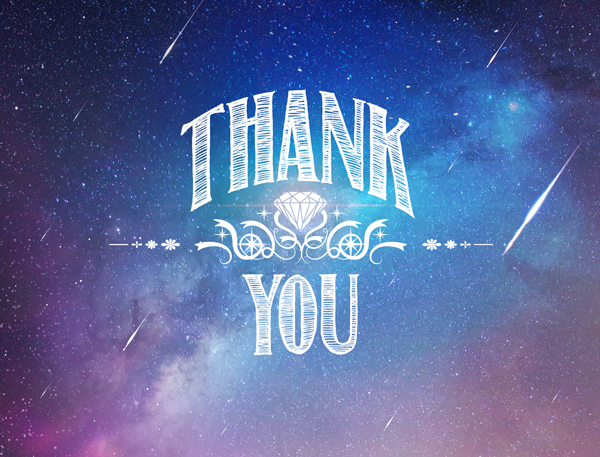
Next, I wanted to create a graphic that would be used for the thank you cards Dayle could potentially use to send out to her guests. This one was simple.

Asset_ThankYou_Card1

Next, I created 2 coordinating boxes that could be used to house all of the pieces to the project.

I will have a step-by-step tutorial on this next week! 

Here is what the boxes looked like. The little one holds the thank-you-favor-tags and the other’s to hold Dayle’s thank you cards to guests.BoxOutside1


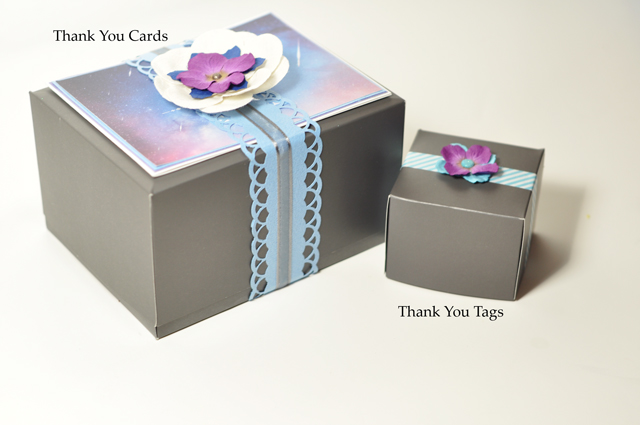
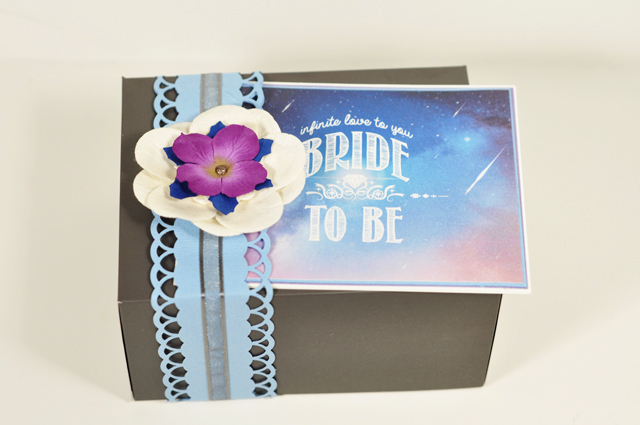
I created a belly-band with a flower embellishment to wrap around the box (basically to help it stay closed). Then, I slid the “bride-to-be” card under the band.

BoxOutside2

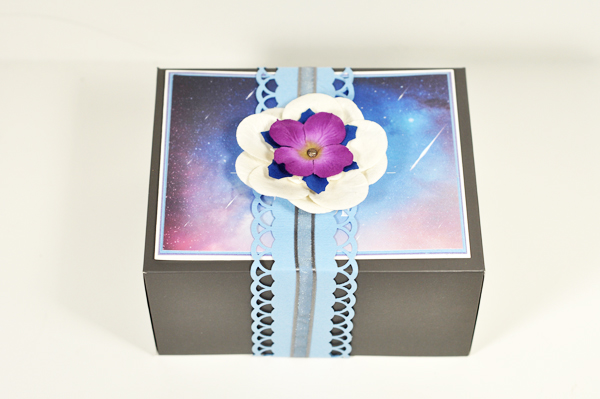
Here’s a quick glace at the card after it was assembled. I gave it a blue and purple matting around the edge to coordinate with the overall scheme.

BoxOutside3

And here is the final project and all it’s components! It included a card to the bride, a stack of blank thank you cards, a stack of thank you tags, 2 gift boxes and a coordinating pen!

BoxElements

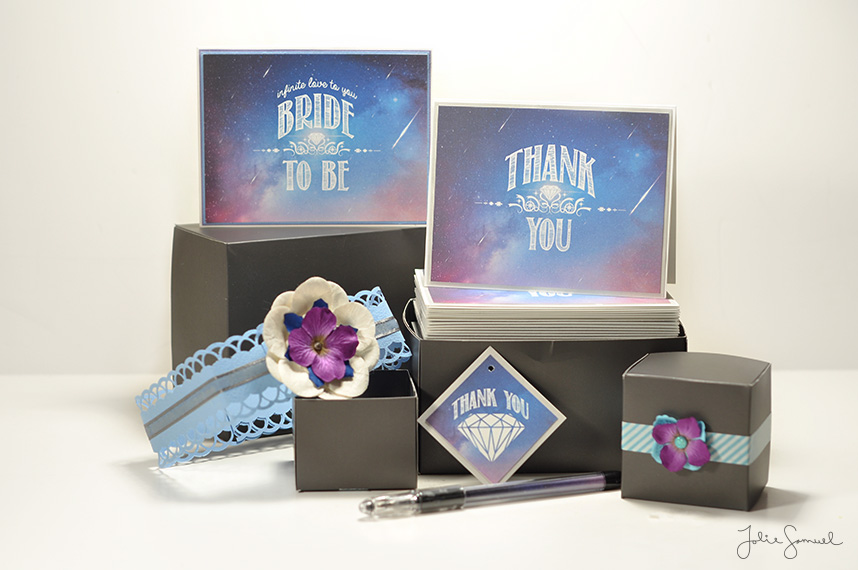
Overall, it was a super fun project to work. I hope you enjoyed following along and can’t wait to share additional projects with you! Congrats to Dayle Lang and best wishes to you on your upcoming wedding day!

Stay tuned for all new projects next week. Have a great weekend!

~JS

A Bridal Meteor Shower! Part 2

By Cards

Hi All,

Welcome back to part two of the Bridal shower extravaganza! As promised I have another element of the bridal shower to share with you today.

After creating the shower invitations, the next project was to create a coordinating favor tag to tie around a mason jar that would eventually become a gift for a guest. The bridal party specifically asked that the diamond and ‘thank you’ be added to the tag.

I decided to go with the same font and use the diamond logo but turn it on it’s side. 

Here’s a glance at a tag on it’s own

ThankYouTag2

Next, the bridal party worked on the favor and assembling the components together. Check out the galaxy themed fabric they used! It’s great when a plan comes together =)


FabricSwatch

Next, I wanted to makes sure the tag worked with any size jar, so I tried it on a 16oz. jar.

16Oz_Jar

And here’s the actual favor. They filled the jars with some REALLY yummy homemade granola (that got devoured pretty quickly in our house).

8Oz_Jar

Overall, I thought it came together pretty great with the rest of the decor the girls used at the shower. I wish I had taken a photo, but I completely missed that opportunity. Oh well! I was too busy catching up with friends and enjoying my afternoon. Time well spent in my opinion.

Stay tuned to for the last part of this series – A gift to the beautiful bride-to-be, my friend, Dayle Lang! It is by far my favorite part of this series!

See ya tomorrow ~JS