
Tag

bazzil

Holiday Card Using Gouache

By Cards

Hi All,

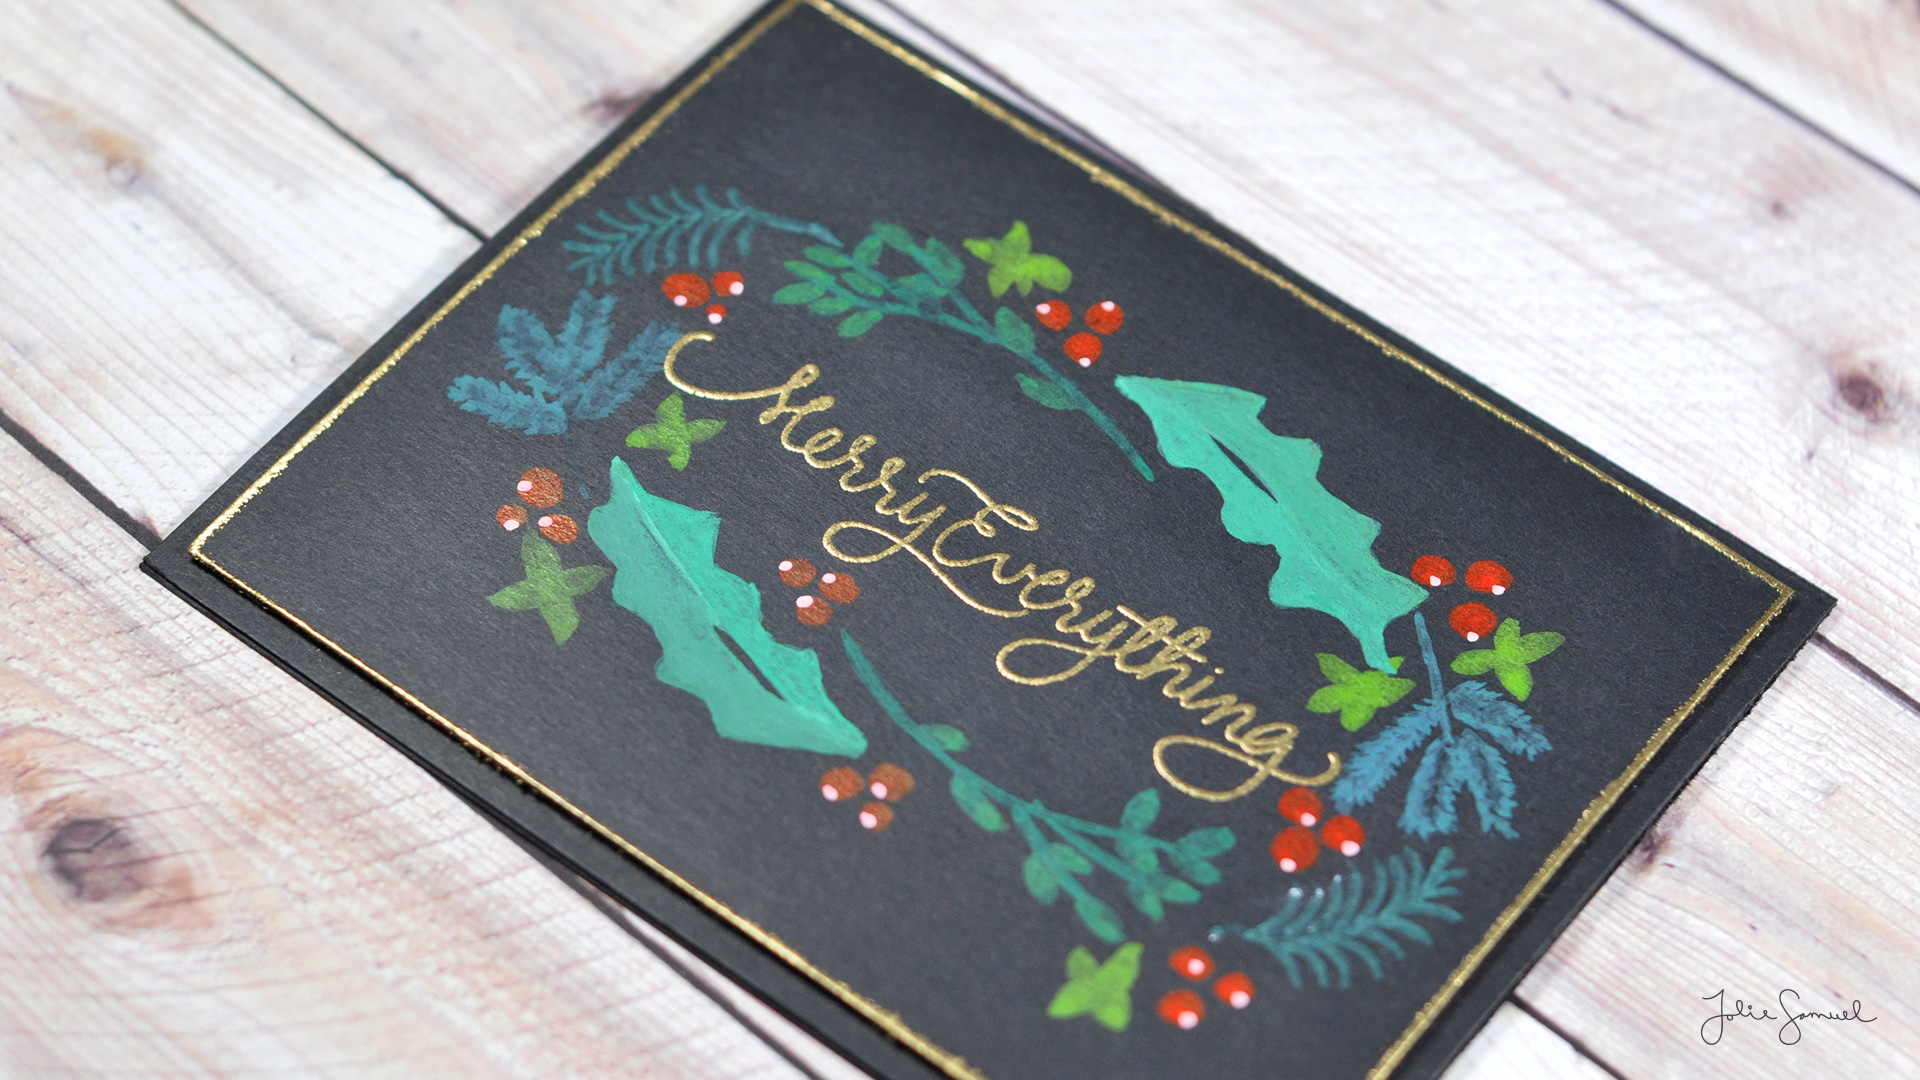
I’m back with my final project that I made for Merry Making. The lesson included some absolutely stunning painted cards using gouache. I was fortunate to be gifted a set last Christmas, but I have not had the best results with them. I think this lesson really brought up some great tips and tricks to using gouache. I think one major problem I had in previous attempts was that I treated the paints more like watercolor. Although it’s just fine to do that, it doesn’t produce great opaque results. So this time around I used minimal water. Also, since gouache dries opaque, when painting it is easier to cover up mistakes and add layers of color.

I have yet to master this, but I think as far as achieving opaque results, I am slowly on that track.

Here’s a closer look at the wreath-like card I made.

To finish off the card I used a sentiment from Simon Says Stamp and added some gold embossed edging to the layer of the card.

Thanks for checking out all my projects this past week for OCC Merry Making. I’ll be back real soon with more holiday projects!

Last one for #occmerrymaking @onlinecardclasses 🙂 Tried using some gouache and free hand simple stroke painting.

A post shared by Handmade Cards and Paper Goods (@joliesamuel) on

Floral Card Using Mutli Layered Heat Embossing

By Cards

FloralCard

Hi all,

How many times have you cleaned your room and stumble upon something you’ve had for the longest time? That’s the feeling I have about the corner of my craft room that houses embossing powders. I’ve spent the last few posts re-discovering the powders all over again. For this card, I decided to swap out my usual stamp inks for only embossing powders.

FloralCard2

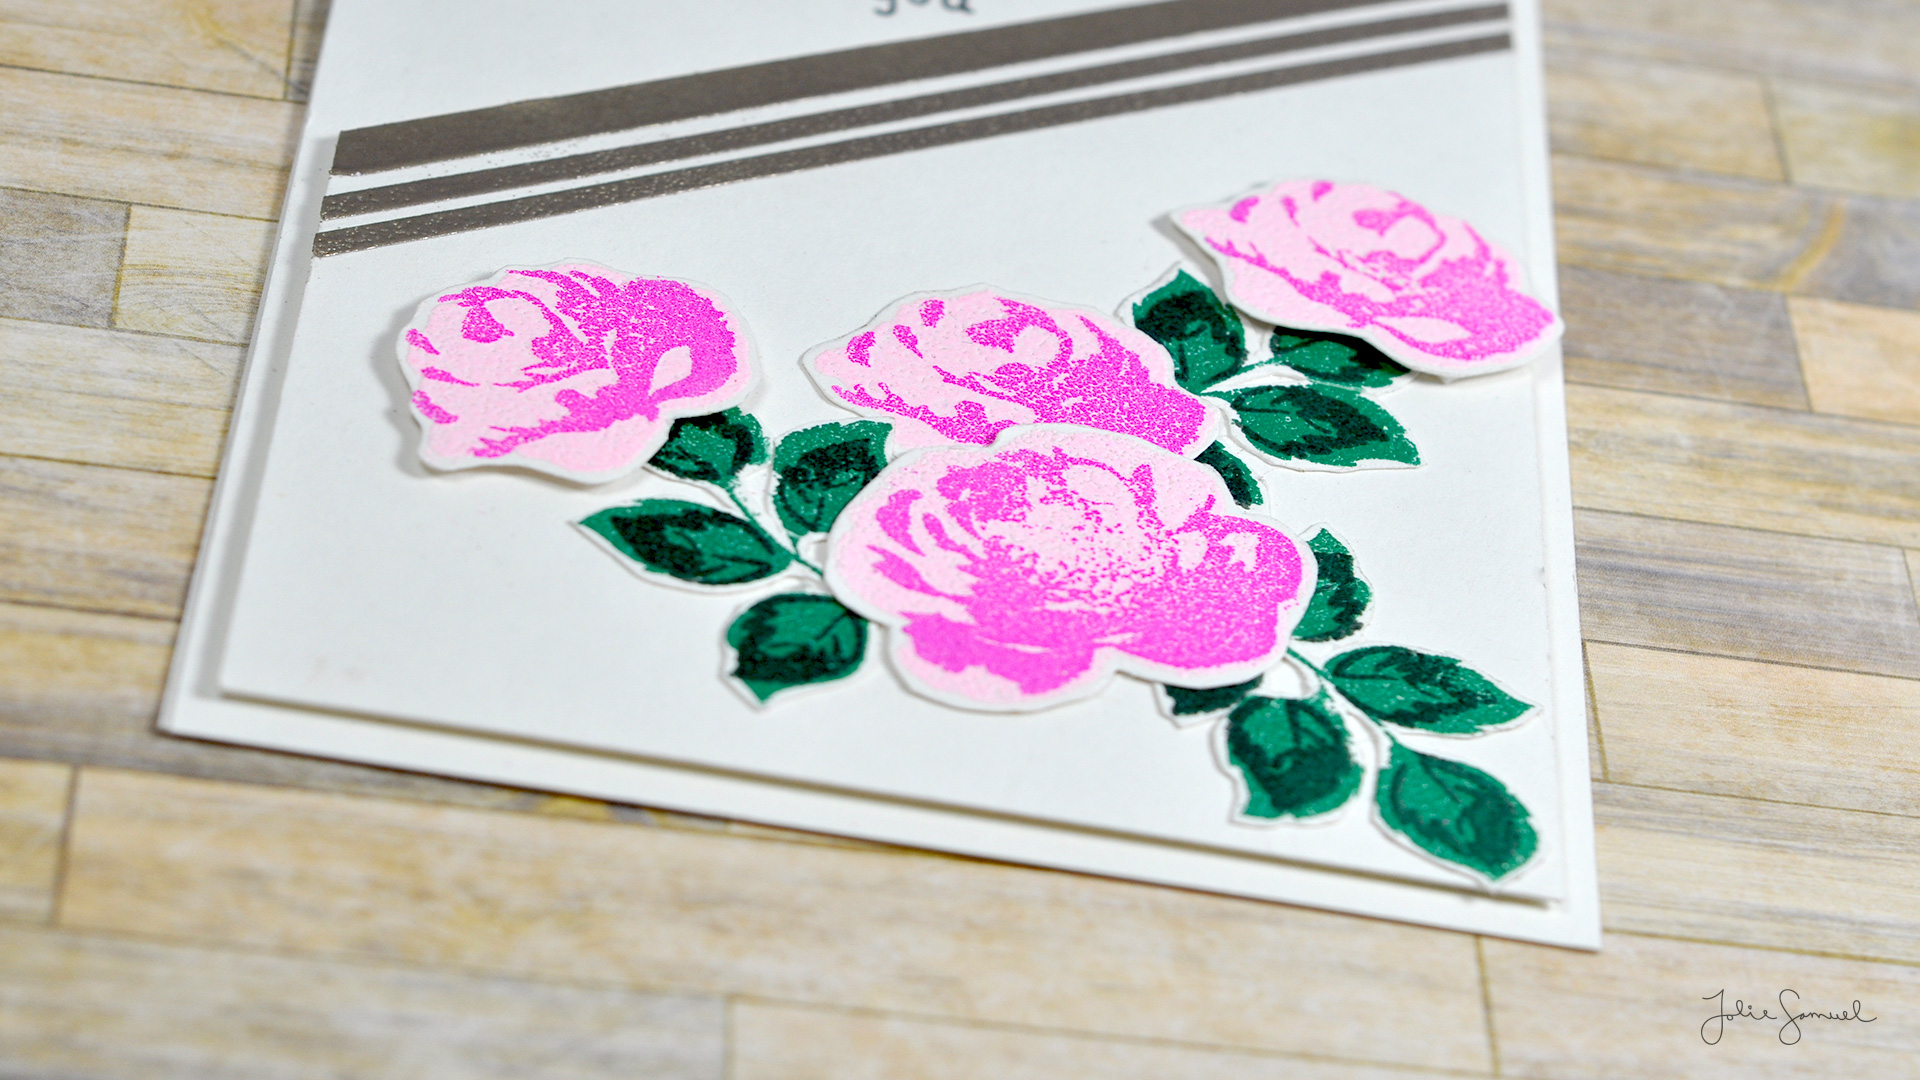
I grabbed my favorite floral set from Altenew and some Versa mark ink. I stamped the bottom layer of a flower and heat embossed it in a light color gradient of pink. Then I stamped directly on top of the embossed image and stamped the layer of details included in the stamp set. Next, I heat embossed in a darker shade.

Once the stamping was complete I cut out the images and layered them onto my card base.

Here’s how the whole project came together.

*~———- * LINKS * ———-~*

DIY BLOG :https://www.joliesamuel.com//
FACEBOOK PAGE: https://www.facebook.com/joliesamuelc…
INSTAGRAM : https://www.instagram.com/joliesamuel/
TWITTER : https://twitter.com/TheJolieSamuel

*~———- * SUPPLIES * ———-~*

• Bazzill Card Shoppe Marshmallow cardstock — http://amzn.to/2aiHd0A
• Altenew Vintage Roses stamps — http://amzn.to/2aiHctu
• W Plus 9 Fresh Cut Florals stamps
• Versamark Watermark/Resist Ink Stamp Pad — http://amzn.to/2aeLKQL
• Tsukineko VersaFine Onyx Black Ink Pad — http://amzn.to/2aeLBg7
• American Crafts Zing! ROSE Opaque Embossing Powder — http://amzn.to/2a2oQIR
• Inkadinkado Hot Pink Embossing Powder — http://amzn.to/2acpwP3
• Inkadinkado Kelly Green Embossing Powder — http://amzn.to/2acpwP3
• Recollections Merlot Embossing Powder
• Stampendous Lilac Pastel Embossing Powder — http://amzn.to/2abqZBR
• Stampendous Pearl Emerald Embossing Powder — http://amzn.to/2aeL65N
• Scor-Tape 1/4in double-sided adhesive tape — http://amzn.to/2a90N0z
• Scor-Tape 1/8in double-sided adhesive tape — http://amzn.to/2aeLt0k