Tag

hero arts

Holiday Cards – Day 6

By Cards

Hi All,

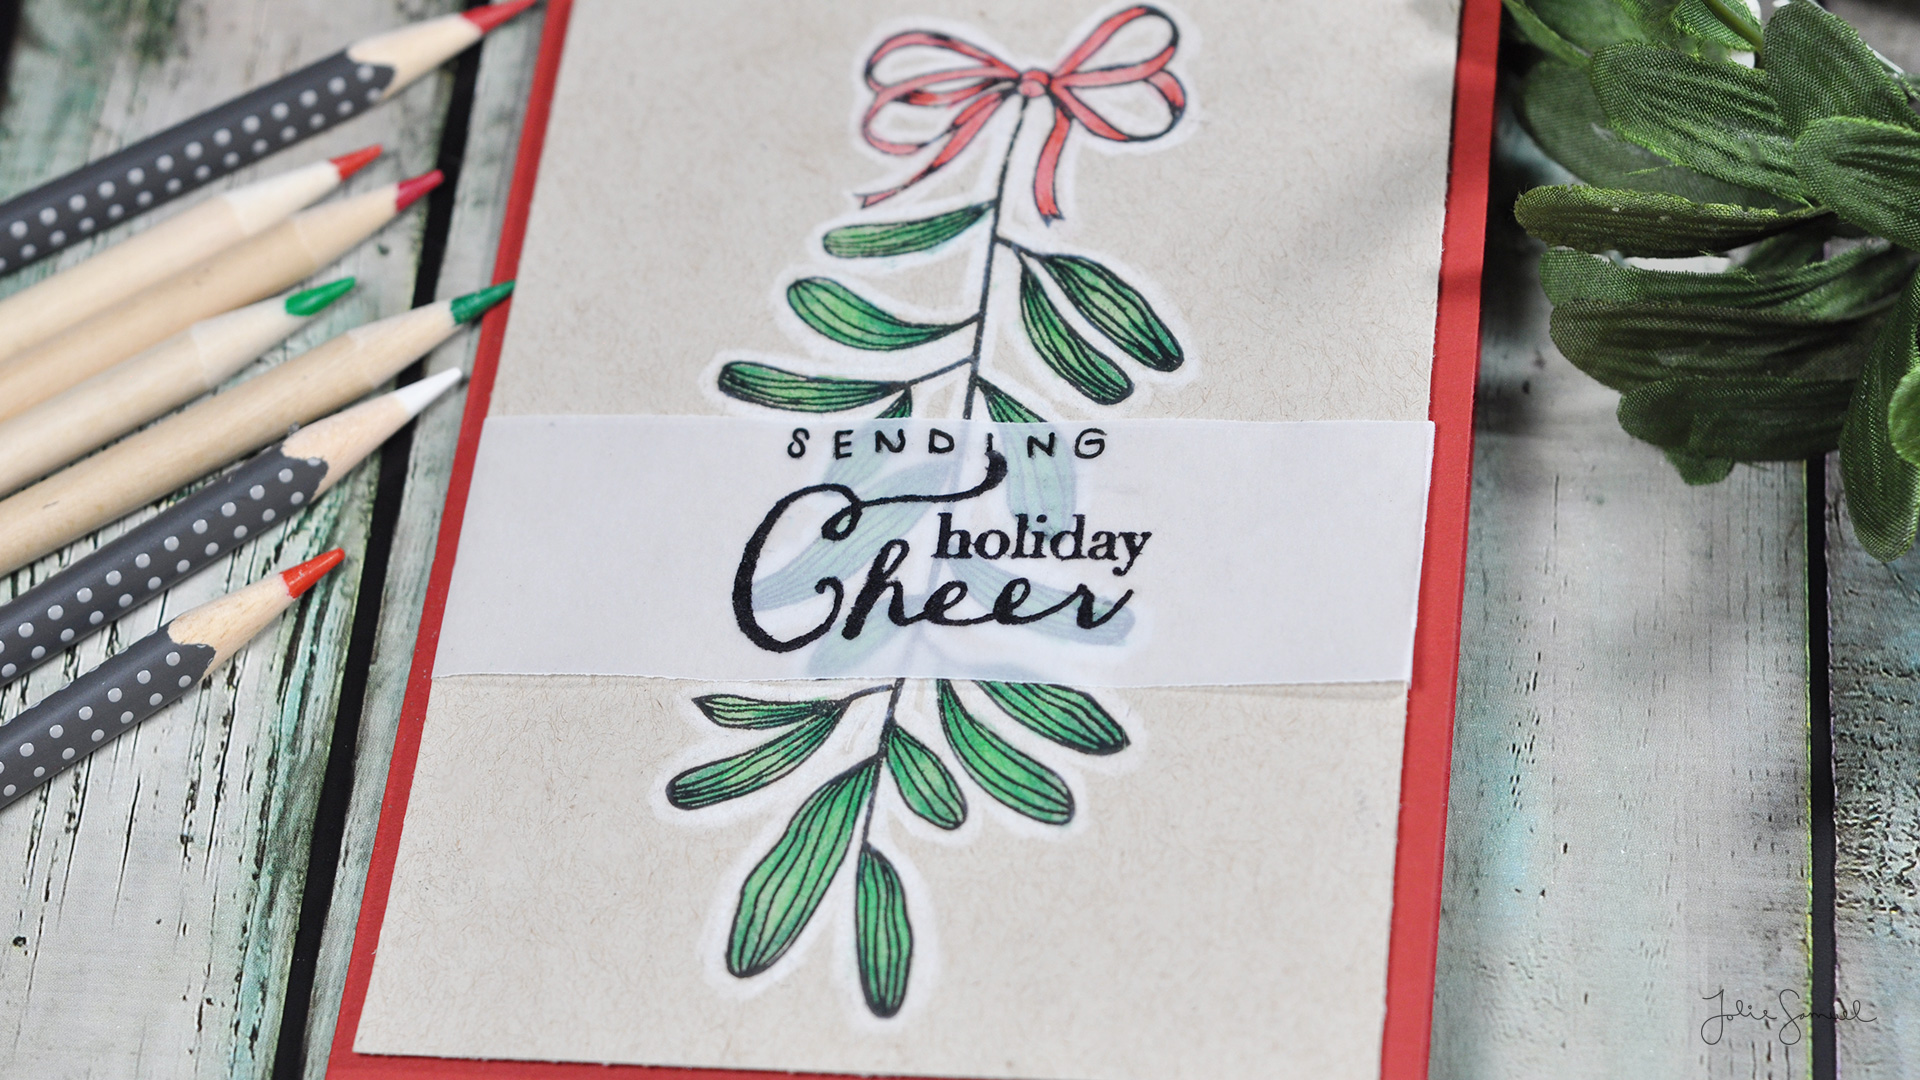
I’m back with another holiday card to share with you. Today’s holiday card was rather simple to make but did take quite a bit of time in terms of coloring. I wanted to spend some time practicing my blending technique with colored pencil and decided to use that as my main medium today.

After coloring the entire image, I used a white pencil to go around the entire outline of the image. I think that really finishes off the coloring and makes the image pop off the page. I also love the look of colored pencil on kraft paper. It looks much more refined this way than simply having it on white.

To finish off the card I used a vellum strip with a holiday sentiment. I wanted to use vellum so that I wouldn’t have to really cover up any of my images. I love the way it still peeks through the sentiment and can be seen.

Here’s a look at how it all came together.

Here’s another look at the finished card.

Thanks so much for stopping by and I’ll see you again real soon with another holiday card!

Wishing You The Best – Colored Vellum

By Cards

CS4_participantHi all,

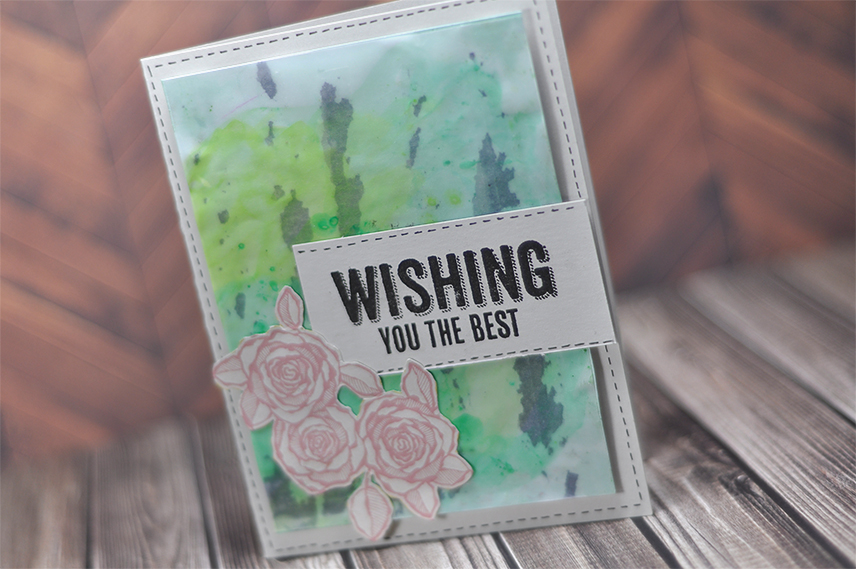
Today’s card was truly a challenge for me. I loved the technique of colored vellum shared in class and thought I would give it a try. I have quite a bit of vellum on hand but typically I use it with heat embossing and have never thought to color it with paints/watercolors. For this card I wanted to achieve some vibrant colors so I thought I’d paint using my Inktense pencils. The pencils worked fabulously with the vellum, but I did have a lot of paper curling. I think for future attempts, it would be best to tape down all edges and see if that helps in keeping the vellum flat.

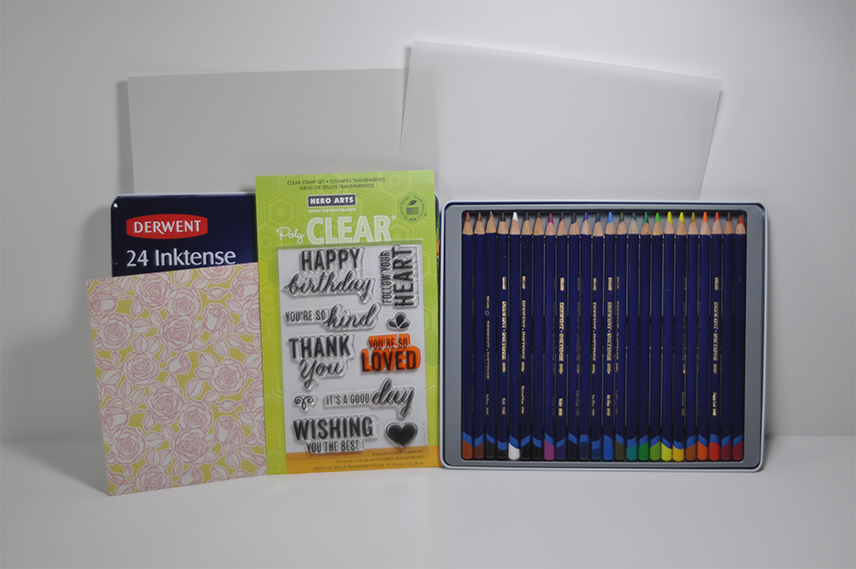
Additionally, this card was created using 5 key elements (as that was the primary challenge of the day in the class). Here are the items I chose. Grey card stock, white vellum, a sheet of 6×6 designer paper, 1 sentiment stamp set & a set of Inktense pencils.

*I did use common tools to create the card such as a trimmer and adhesives.

occ_five

Here is my finished card.

occ_wishyou

Thank You Card Featuring Floral Background Stamp

By Cards

Hi All,

Hope you are all having a memorable summer! I feel like it has gone by way too fast & I’m so not looking forward to cooler weather.

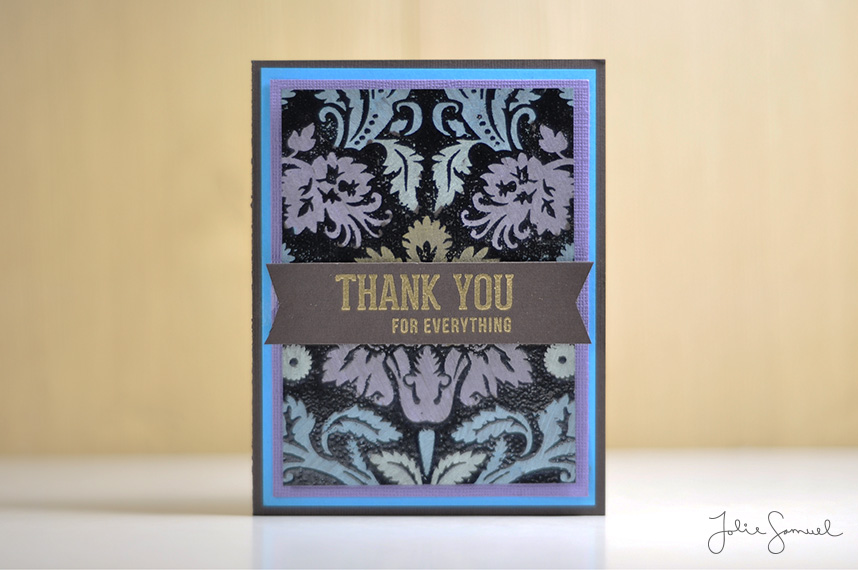
To keep things in the spirit of bright and fun, I’d love to share with you my latest project. I wanted to use a large background stamp as my focal point of a card. I have been enjoying the inspiration shared over at Online Card Classes (Stretch Your Stamps 2) and thought I would share my take on featuring a large background stamp. I love the way it turned out and as you can see from the video, but it requires quite a few steps. I don’t think it’s the fastest type of card to make, but it does make quite a statement. The colors are so bold and iridescent no matter where the light hits it!

YT_ThankYou_FloralBackground

Here’s the how-to-video I created. Feel free to subscribe to my YouTube channel as I will now be updating it regularly with new projects & inspiration.

Supplies:

Cardstock: Bazzil textured in Black, Blue & Violet

Embossing: Inkadinkado Black Metallic & Glam Gold

Markers: American Crafts Metallic Markers in Gold, Blue, Violet & Teal

Stamps: Hero Arts – Large Fabric Design, Simon Says Stamp-Life is a journey

Inks: Hero Arts Mid-Tone Shadow Ink – Butter Bar & VersaMark Clear

Tools: EK Success Powder Tool, Tonic Paper Trimmer, Stampin’ Up Precision Scissors, 1/16” Foam Mounting Squares, Heat Gun & Tape Runner Adhesive