
Craft Fair – Configuration Box

By Room Decor

Hi all,

It’s been a busy few weeks in the craft room as I am in full swing of  preparation for the holiday season. This is the first year that I will be selling Christmas themed items. It is also the first year that I will be participating in a craft fair with a friend. Planning for the fair has been fun and overwhelming all at the same time. Fortunately I feel that I have lots of ideas and just need to start cranking them out. Currently, I have several projects on the table and am working away at each of them. I can’t wait to share them all!

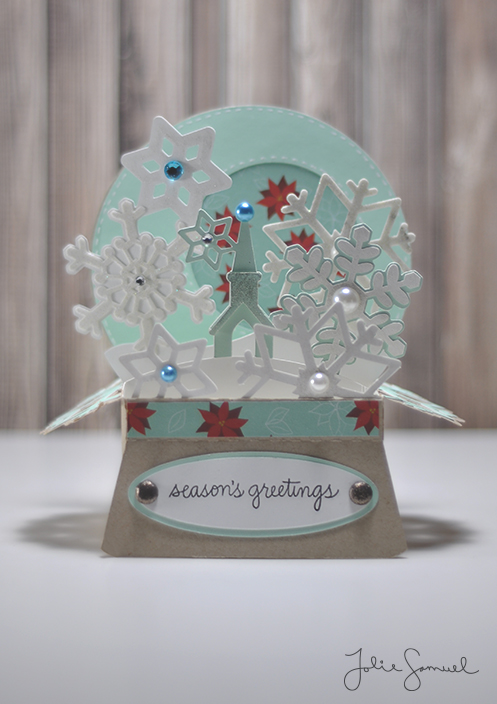
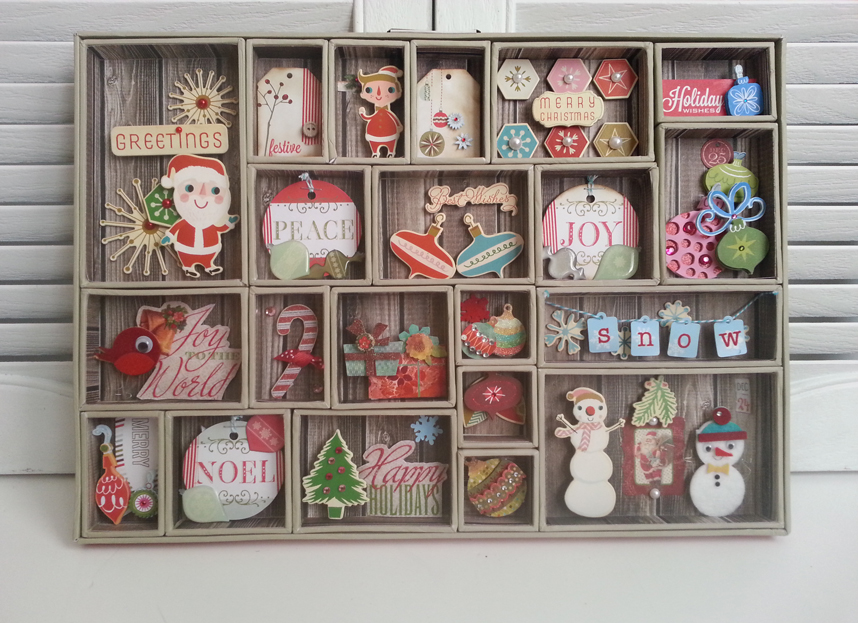
Here is today’s finished product. It is a Christmas reconfiguration box.  This box is  fun in that it has a little ‘puzzle’ element to it. Each of the little boxes can be rearranged into a different design. Pictured here is one version.

ConfigurationBox1

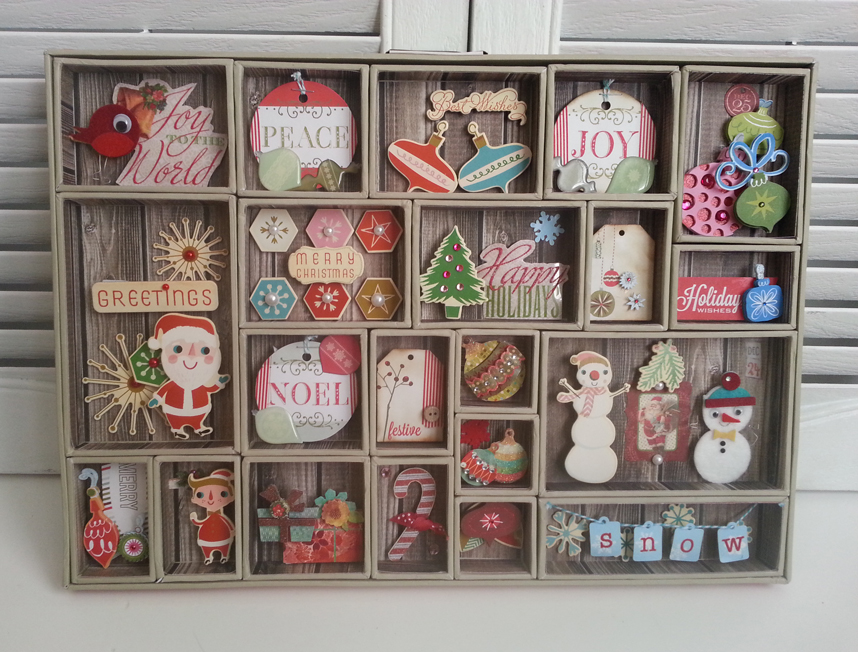
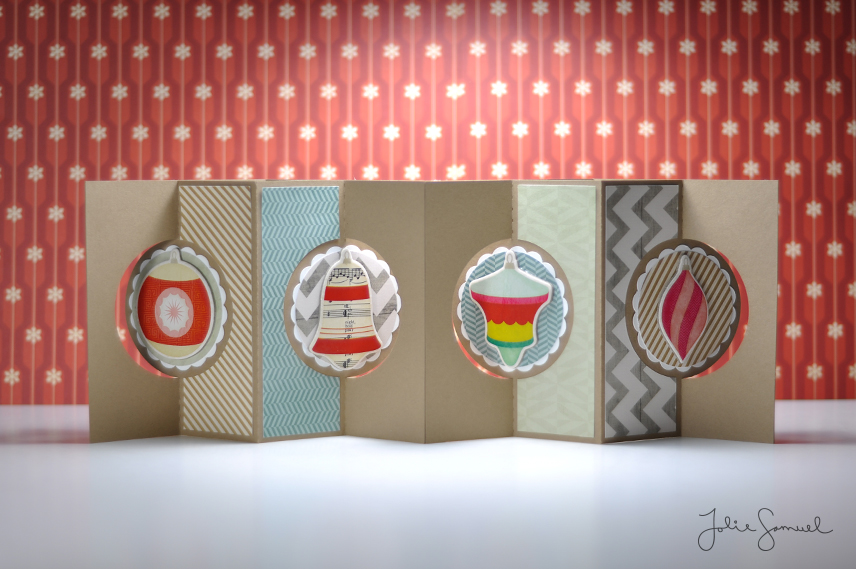
Here is the same box just slightly reconfigured (you can entirely rearrange them if you’d like). There are numerous configurations that work for this box.

ConfigurationBox2

These projects are almost too nice to give away. Thanks for stopping by! =)

– Jolie

Holiday Cards 2014 – Day 18

By Cards

Hi all,

Here’s a fun pop-up card for you to enjoy!

snowglobe_popup

This card was a BEAST to put together. It took a few hours to figure out how the layout would work and what color scheme to use. I added a ton of shimmer and shine to each piece (which I hope translates well in the picture). What’s really clever about this card is that it can still be folded flat and fit into an envelope for gifting purposes but it also works as display art as well. How fun!

Holiday Cards 2014 – Day 17

By Cards

Hi all,

We’re almost at the conclusion of the 2014 Holiday Card Series. The next few cards will be just some fun holiday crafts I have created this year in my craft room.

accordion_christmas

This card was created using my Silhouette cutting machine and features 4 panels with cut-out circles that move with the stretch of the card. When closed it looks like a regular card. I didn’t add a sentiment to this one, I love the simplicity of just the ornament designs. It still fits into a regular size envelope and can be mailed quite easily. I love that it’s just another take to a lovely holiday card for friends or family.

See you next time for Day 18!

Holiday Place Card Holder

By Cards

Hi all!

As we quickly approach the start of a beautiful holiday season, I thought I’d share a quick project for those of you who are looking to dress up your table-scape this Thanksgiving (or Christmas). This is a quick and easy idea for those work/dinner/church/just-for-fun type parties coming up this winter.

place_cards

Here’s what you need to do:

Supplies: 

Cutting shears – something that will cut through twigs/small branches

Regular Cutting Scissors

Hot glue gun – or any type of strong adhesive

Paper – holiday themed craft paper

Twine– optional

_______________________________________________________

Step-by-step

1) Grab your cutting shears and head outside and gather up some sticks, branches, pine needles, foliage. Beware of thorns or critters 😉

IMG_20141121_155515

2.) Trim down your branches and foliage to the size you desire.

IMG_20141121_155558

3.) Trim off all those little needles to reveal just a branch. I used branches from pine bushes but if you have a bare tree, those branches work just as well.

IMG_20141121_155700

4.) Trim down the branches to your 3″ – 4″ lengths.

IMG_20141121_160733

5.) “Sandwich” 2 sticks together and adhere with a dot of hot glue on both ends. Add in a small bit of foliage to one side and again adhere with a dot of glue. You can also tie it all in with using twine.

IMG_20141121_163740

*** Note, I’m not sure how long these will sit considering they are made of natural elements. Mine were created over 24 hours ago, and are still in perfect condition.

Hope you give this project a try! Happy Thanksgiving!